Hey there! As a supplier of Hand Power Press Machines, I often get asked about how to calibrate these machines. Calibration is super important to ensure that your machine works efficiently and safely. In this blog, I'll walk you through the steps of calibrating a hand power press machine.
Why Calibration Matters
Before we dive into the calibration process, let's talk about why it's so crucial. A well - calibrated hand power press machine will give you accurate results every time you use it. Whether you're stamping, punching, or forming materials, calibration ensures that the force applied is consistent. This not only improves the quality of your products but also extends the lifespan of your machine. If the machine isn't calibrated correctly, it can lead to uneven pressure, which might damage your workpieces or even cause the machine to break down prematurely.
Tools You'll Need
To calibrate your hand power press machine, you'll need a few basic tools. First off, you'll need a torque wrench. This tool is essential for measuring and adjusting the tightness of bolts and nuts on the machine. A dial indicator is also very useful. It helps you measure small distances and can be used to check the alignment of different parts of the press. Additionally, a feeler gauge will come in handy for measuring the gap between two surfaces. Make sure these tools are in good working condition before you start the calibration process.
Step 1: Check the Machine's Level
The first step in calibrating a hand power press machine is to make sure it's level. An uneven machine can cause all sorts of problems, like uneven pressure distribution and premature wear on parts. Use a spirit level to check the horizontal and vertical levels of the machine. Place the level on the base of the press and adjust the leveling feet until the bubble in the level is centered. This might take a bit of trial and error, but getting the machine level is a crucial first step.
Step 2: Inspect the Bolts and Nuts
Next, you need to check all the bolts and nuts on the machine. Over time, these can loosen up, which can affect the performance of the press. Use your torque wrench to check the tightness of each bolt and nut according to the manufacturer's specifications. If you find any that are loose, tighten them up. But be careful not to over - tighten, as this can also cause damage.
Step 3: Check the Alignment of the Ram
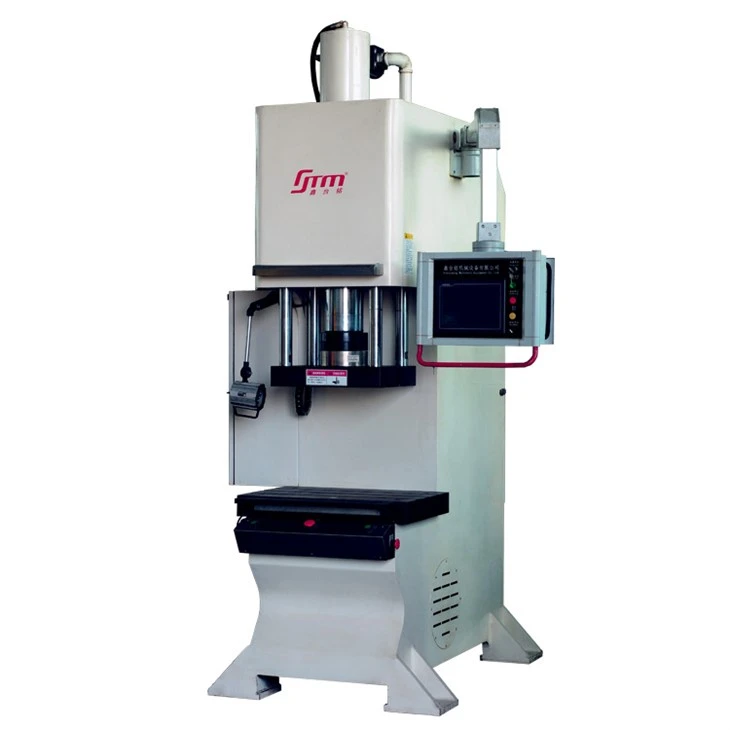
The ram is the part of the press that moves up and down to apply pressure. It's important to make sure it's properly aligned. Use a dial indicator to measure the alignment of the ram. Mount the dial indicator on a stable part of the machine and place the probe against the ram. Move the ram up and down slowly and watch the reading on the dial indicator. If the reading varies too much, you'll need to adjust the alignment. This might involve loosening some bolts, making small adjustments, and then tightening the bolts again.
Step 4: Adjust the Pressure
Now, it's time to adjust the pressure of the press. Most hand power press machines have a pressure adjustment mechanism. You can use a pressure gauge to measure the pressure applied by the press. Start by setting the pressure to a low level and then gradually increase it while monitoring the gauge. Make sure the pressure is consistent across the entire surface of the ram. If you notice any fluctuations, you might need to adjust the pressure adjustment mechanism further.
Step 5: Check the Clearance
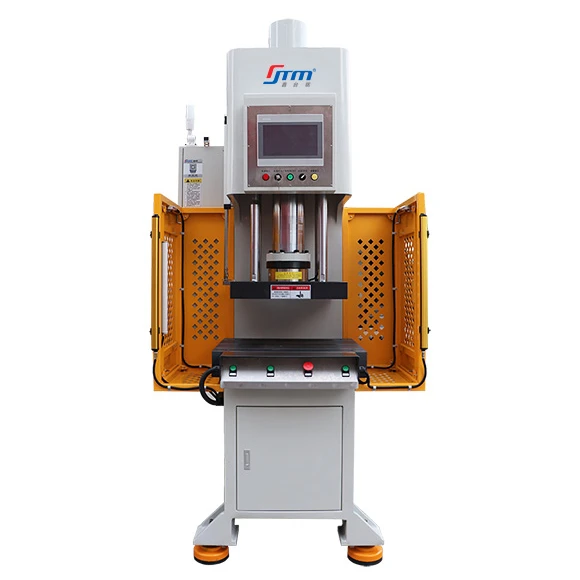
The clearance between the ram and the die is also an important factor. Use a feeler gauge to measure the clearance. The clearance should be uniform around the entire perimeter of the die. If the clearance is too small, it can cause the die to get stuck or damage the workpiece. If it's too large, the pressure won't be applied evenly. Adjust the position of the die or the ram to get the correct clearance.
Step 6: Test the Machine
Once you've completed all the above steps, it's time to test the machine. Run a few test cycles with a sample workpiece. Check the quality of the work done by the press. Look for any signs of uneven pressure, such as uneven markings on the workpiece or parts that aren't formed correctly. If you notice any problems, go back and re - check the calibration steps.
Common Calibration Issues and Solutions
Sometimes, you might run into some common issues during the calibration process. For example, if the pressure is too low even after adjusting the pressure mechanism, it could be due to a leak in the hydraulic system (if your press is hydraulic). Check all the hoses and connections for any signs of leakage and repair them if necessary.
If the ram isn't moving smoothly, it could be because of dirt or debris in the guideways. Clean the guideways thoroughly and lubricate them with the appropriate lubricant.
Conclusion
Calibrating a hand power press machine might seem like a complicated process, but if you follow these steps, you'll be able to do it successfully. Remember, regular calibration is key to keeping your machine in top condition and ensuring high - quality work.
If you're in the market for a hand power press machine, we also offer Power Press Machine Second Hand and Second Hand 10 Ton Power Press. You can also check out our Power Press Second Hand options. If you have any questions about calibration or are interested in purchasing a machine, feel free to reach out to us. We're here to help you make the best choice for your needs.
References
- Manufacturer's manual of the hand power press machine
- Industry standards for power press machine calibration