Hey there! As a supplier of Hydraulic Servo Presses, I often get asked about how to replace the hydraulic seals in these machines. It's a crucial maintenance task that can save you a ton of headaches and keep your press running smoothly. So, let's dive right in and break down the process step by step.
Why Replace Hydraulic Seals?
First off, you might be wondering why you even need to replace hydraulic seals. Well, over time, these seals can wear out due to constant pressure, friction, and exposure to hydraulic fluid. When seals start to fail, you'll notice signs like fluid leaks, reduced press performance, and increased noise. Ignoring these issues can lead to more serious problems, like damage to other components and even complete press failure. So, it's always better to catch seal problems early and replace them as needed.
Tools and Materials You'll Need
Before you start replacing the hydraulic seals, you'll need to gather a few tools and materials. Here's a basic list:
- Seal kit: Make sure you get the right seal kit for your specific Hydraulic Servo Press model. You can usually find these kits from the manufacturer or a reputable supplier.
- Wrenches and sockets: You'll need a set of wrenches and sockets to remove and install the components that hold the seals in place.
- Screwdrivers: Both flathead and Phillips head screwdrivers may be necessary for removing screws and fasteners.
- Pliers: Pliers can be handy for gripping and pulling out small parts.
- Cleaning supplies: You'll need a clean cloth, some solvent, and a brush to clean the components before installing the new seals.
- Lubricant: A high - quality hydraulic seal lubricant will help the new seals install smoothly and prevent damage.
Step 1: Prepare the Press
The first step is to prepare the Hydraulic Servo Press for seal replacement. Start by turning off the power to the press and relieving the hydraulic pressure. You can do this by following the manufacturer's instructions for depressurizing the system. This is extremely important for your safety, as working on a pressurized system can be very dangerous.
Next, clean the area around the seals. Use a clean cloth and some solvent to remove any dirt, debris, or hydraulic fluid from the surface. This will prevent contaminants from getting into the system when you install the new seals.
Step 2: Remove the Old Seals
Now it's time to remove the old seals. Depending on the location of the seals, you may need to remove some components first. For example, if the seals are in the cylinder, you'll need to remove the cylinder head or end cap. Use the appropriate wrenches and sockets to loosen and remove the bolts or nuts.
Once you've removed the necessary components, you can access the old seals. Use pliers or a seal removal tool to carefully pry out the old seals. Be careful not to damage the surrounding components while doing this. If the seals are stuck, you can use a little bit of solvent to help loosen them.
Step 3: Inspect the Components
After removing the old seals, take a close look at the components where the seals were installed. Check for any signs of damage, such as scratches, grooves, or wear. If you notice any damage, you may need to repair or replace the component before installing the new seals. A damaged component can cause the new seals to fail prematurely.
Step 4: Clean the Components
Before installing the new seals, it's essential to clean the components thoroughly. Use a clean cloth and some solvent to remove any remaining dirt, debris, or old seal material. Pay special attention to the seal grooves, as any contaminants in these areas can prevent the new seals from sealing properly.
Step 5: Install the New Seals
Now comes the fun part - installing the new seals. First, apply a thin layer of lubricant to the new seals. This will make them easier to install and help prevent damage during installation.Additionally, it will also ensure a better seal once the press is back in operation.
Carefully place the new seals into the seal grooves. Make sure they are seated properly and there are no wrinkles or twists. Use a seal installation tool or your fingers to gently press the seals into place. Be careful not to over - stretch or damage the seals.
Step 6: Reassemble the Press
Once the new seals are installed, it's time to reassemble the press. Put the components back in place and tighten the bolts or nuts to the manufacturer's recommended torque specifications. Make sure everything is properly aligned and there are no loose parts.
Step 7: Test the Press
After reassembling the press, it's important to test it to make sure the new seals are working properly. Turn on the power and slowly build up the hydraulic pressure. Check for any signs of leaks around the seals. If you notice any leaks, shut off the press immediately and re - check the installation.
If everything looks good, run the press through a few cycles to make sure it's operating smoothly. Pay attention to the performance of the press, such as the force output and the speed of operation. If you notice any issues, it may be necessary to double - check the seal installation or look for other problems in the system.
Our Hydraulic Servo Press Offerings
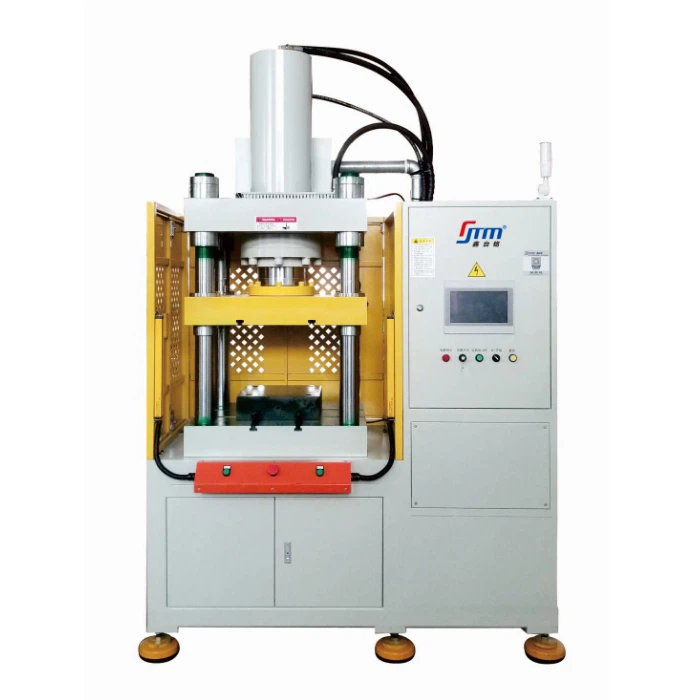
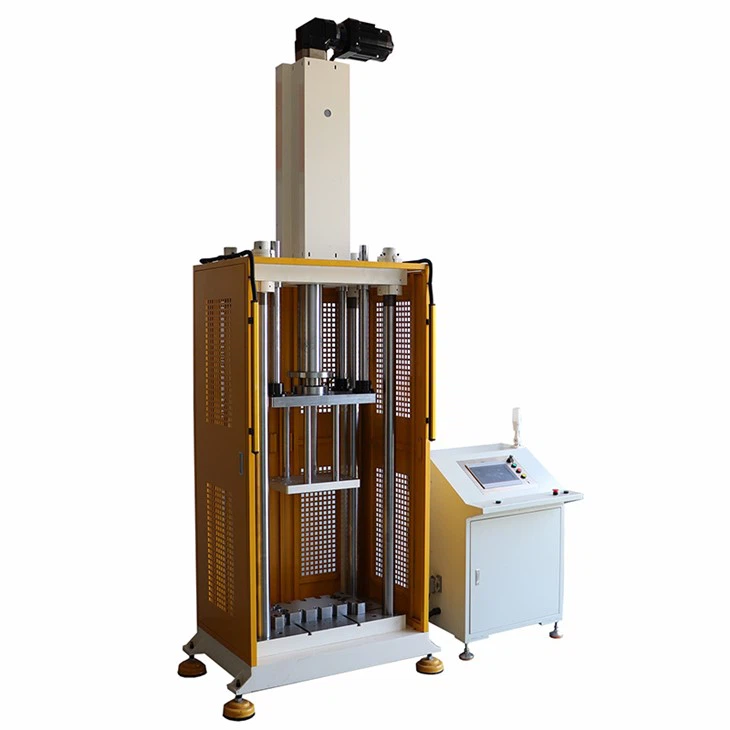
As a Hydraulic Servo Press supplier, we offer a wide range of high - quality presses to meet your needs. Check out our Servo Hydraulic Press Machine, H Frame Electric Servo Press, and Servo Mechanical Press. These presses are designed with the latest technology and are built to last.
Conclusion
Replacing the hydraulic seals in a Hydraulic Servo Press is a task that requires some time and effort, but it's definitely doable with the right tools and knowledge. By following these steps, you can keep your press in top condition and avoid costly repairs down the road.
If you have any questions about seal replacement or if you're interested in purchasing a new Hydraulic Servo Press, don't hesitate to reach out. We're here to help you with all your press needs.
References
- Manufacturer's manual for Hydraulic Servo Press
- Industry best practices for hydraulic system maintenance


